Showing posts with label ourhouse. Show all posts

Saturday, March 22, 2014

38 weeks and... The nursery!

I'm 38 weeks and getting ready for baby!

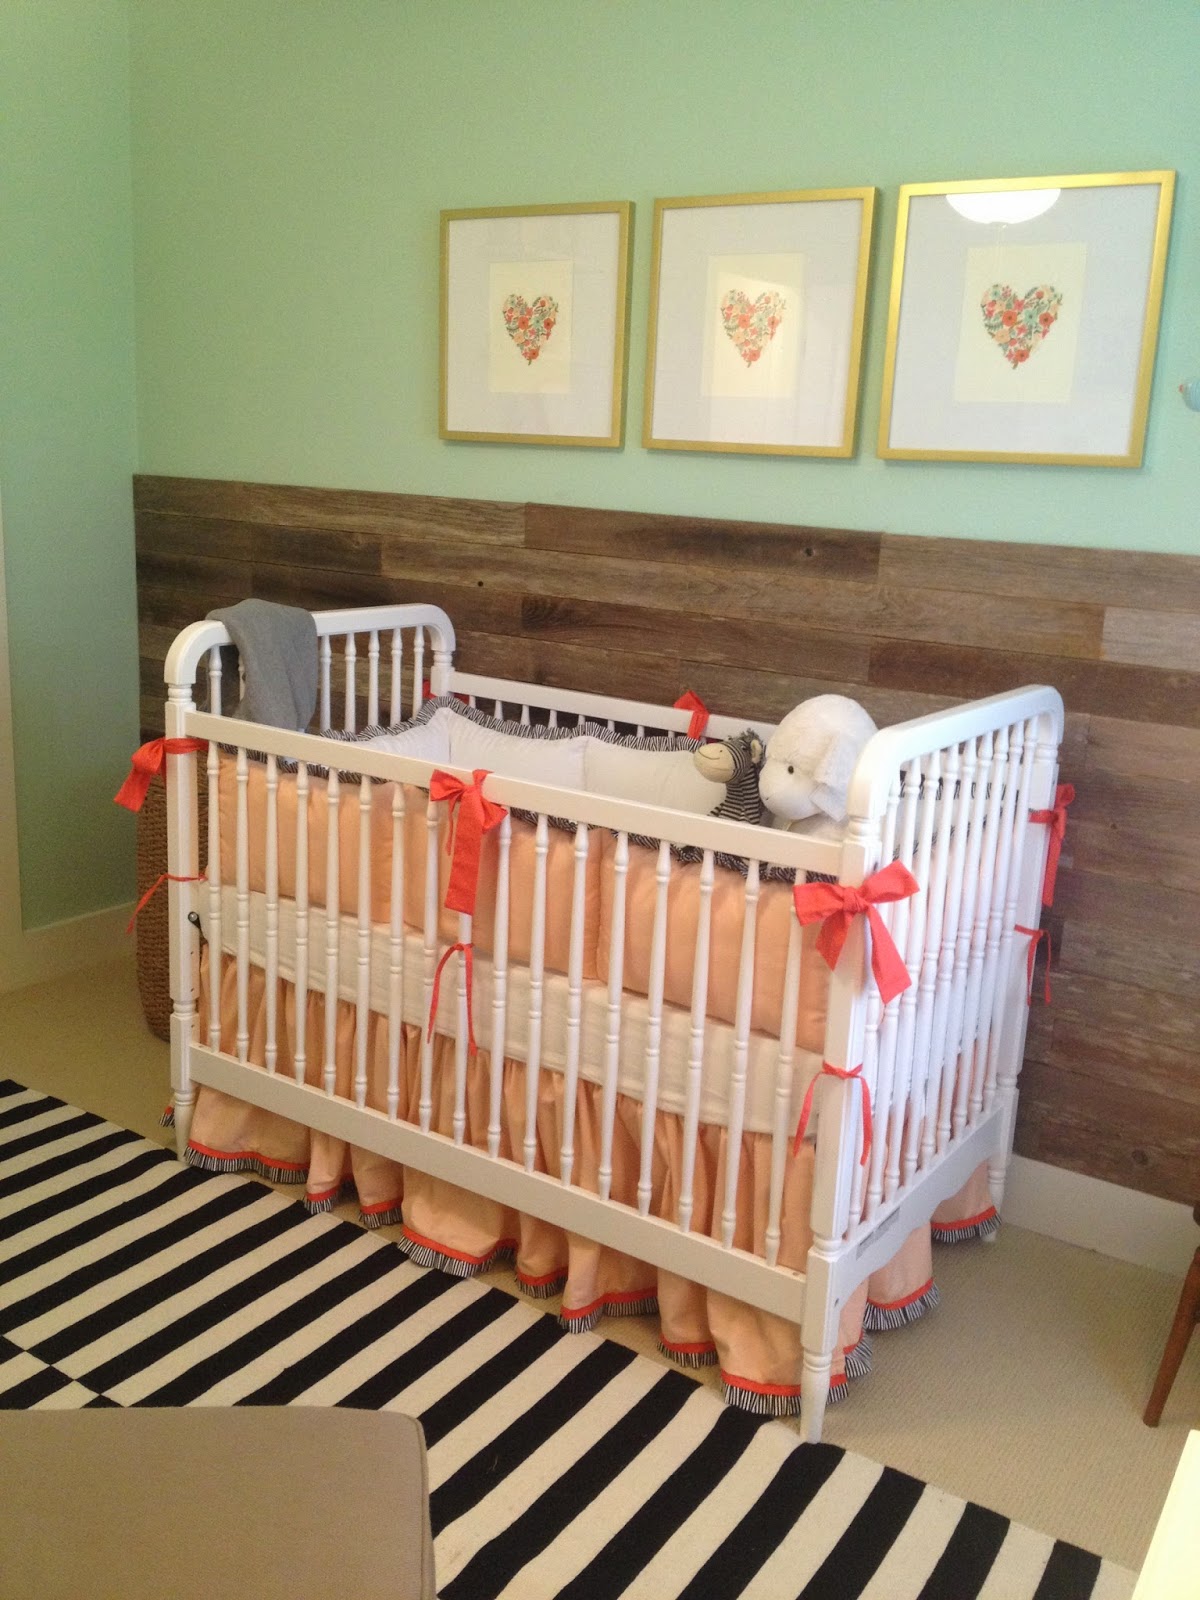
The nursery is finally about complete. It took awhile. It took a lot of back and forth about what I really wanted. But I love it!  These aren't the best pictures, but it does the trick. 


Reba enjoying the crib already. We'll have to figure out how to nip this in the bud.


Old fence wood wall and my inspiration prints in gold frames.  The bedding was custom by Picket Fences.  Thanks to my good friend Kathryn Kenjura for her help on this!


The beginning of our gallery wall above the changing table/dresser.  It will be expanding with time.


And of course some more shelving and storage.

38 weeks and ready for baby!

Saturday, February 15, 2014

Sunday sharing!

This weekend is beautiful in Austin and that means outdoor projects. 

We've been very excited to start a deck project out back and as always with the Walkers, well David, that means a DIY project. Why hire someone to do the work when you've got all the tools to do it yourself?

Currently our back patio consists of a  concrete pad immediately adjacent to the house but with very little sprawl to allow for a dining table or just space to be. And also we have a lot of trees and the grass immediately next to the concrete just doesn't grow. So there is typically a lot of mud. 


This is the before. 

David is in the beginning stages of pouring the footings. Hence the forms. And concrete is being poured today.  The footings will be the structure that will make the deck nice and sturdy. 


Work in progress. 


Bowie as spectator. 


Bowie burying his chewy under a footing. He's a regular little mobster. 

And here's a belly bump pic for the week. 33 weeks. 7 more to go. 


Happy weekend projects to you all!

Tuesday, November 26, 2013

custom bathroom stencil - so fresh

I have been wanting to get an electronic cutter/blade printer for a long time now.  Its so nerdy of me, but as a crafty person, who likes graphics... what can I say? 

I did some research on both the Cricut system and the Silhouette system.  Both have their positives and negatives.  But for me, having the Adobe programs that I use that help me create fun graphics and fonts was the reason I chose the one I did.  With the Cricut, you cannot print your own creations.  You have to buy packages of cut-outs, packages, not just one.  And you cannot import your own graphics.  With the Silhouette, you can.  So I chose that one.  (And you can buy 1 design at a time for about $1, not $10 for a package of 10 when you only need the 1 design.)  With the Silhouette, you have to pay $60 more for the "extended" version of the software that lets you import your own content.  But its worth it.  It takes a little bit of knowledge about "vector" files and how to work around that type of software, but I'm used to it, so the software came easy to me.   I know there are so many things that I can't even comprehend to create or know how to work, but its going to be fun.


On to the fun project.  I've always wanted to put something above our towel hooks in our hallway bathroom.  Something fun, graphic, a quote, etc.  This will be our kids bathroom, so the more fun... yet classic, the better.  So I created a stencil of a fun lyrics verse.  You'll know it when you see it.

I was able to create the text in Adobe Illustrator, then save it as a .svg file and import it into the Silhouette software.  Then I loaded the vinyl adhesive backed paper into the machine and pressed "cut".  (There is more to that, but Silhouette American has a great blog with lots of tutorials, so if you're interested, go there!  http://blog.silhouetteamerica.com/)

And here is the process to make it all happen.

The printer/cutter cuts the vinyl so that it doesn't go through the backing layer.  This image shows the vinyl after I peeled the "positive" off.  Because I was making a stencil, the part that created the negative was what I wanted. 

 
vinyl stencil
 
Then you have to apply the "transfer paper" to the front of the vinyl, which makes it easier to apply to the wall.  If you don't do this, there is the high potential for intricate designs like this to get distorted by your human hands when applying to the wall.  So place the sticky side of the transfer paper to the front of the vinyl.

 
Then, peel the backing off of the vinyl sheet.  Exposing the adhesive that will stick the stencil to the wall.  Then place the pieces as you need.  Its all a process of layers and essentially getting only the vinyl "sticker" onto the wall that becomes your stencil.


I found that I should have cut around the letters more, because the transfer paper is super sticky and peeling it off of the front of the vinyl was a little cumbersome.  You'll see that I peeled it off in smaller sections to help.

 
Vinyl stencil only, transfer paper removed, ready to paint.  I will say that its advisable to go back and rub all the edges of the graphic with a tongue depressor or your finger with a white hand towel.  The more the edges are pressed down to the wall, especially with a high texture wall, the better.

 
Paint.  I used a sponge stamper pouncer thing.  (I'm crafty, but I'm not going to spend the time to know the names of all the crap/tools.)

 
I forgot the first rule of stenciling!  Paint the original wall color first.  In this case, I should have gone and gotten a little bit of our existing wall color, and painted that over the whole design.  This seals the edges, and bleeds into any crevices so that the accent/colored paint won't.  But I was in too much of a hurry and I'm not the most patient person in the world.

 
Final product.  I may do something more to it.  Possibly add a painted frame around it or have David create a wooden pallet wood frame, but for now its fun.

Monday, September 16, 2013

chalkboards

So, the new "it" thing is chalkboard art.  If you frequent Pinterest as much as I do, then you've seen some pretty cool chalkboard art.  Well... I wanted to get in on the fun, so I bought some chalkboard paint pens, chalkboard contact paper, and an A-frame decorative framed chalkboard on Amazon.  {By the way, Amazon is really great for EVERYTHING you would ever want to buy.}

Here were my purchases.


{This one hasn't arrived yet, so I started without it}
 
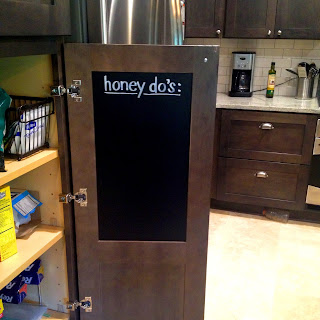
The day these arrived I was so excited, but I waited until the weekend to play with them.  And the first thing I did was transform our pantry cabinet, and created a chalkboard on the inside of our pantry doors. 
 
The contact paper is super easy to cut.  I used a metal ruler and a rotary blade.  (The rotary blade is awesome I just found out, especially with the straightedge ruler.  And, you can cut right on the granite and it doesn't scratch at all.)


This was the pantry door before. 

 
After contact paper.  Smooth out with a credit card or similarly rigid flat thing-a-ma-jig.

 
After chalk paint! 
{I couldn't think of any groceries at the moment.}


{and this will be full by next weekend ;)}
 
And it washes off with water, so it super easy to re-write, erase, and start another list!
 
Then I got really adventurous and found some inspirational chalkboard images on Pinterest, and copied one by looking at it.  This is in our utility room :)


Here are some of my chalkboard art inspirations that I found on Pinterest.  I have tried to cite my sources as best I could.


(I can't find the source, my apologies.)


More fun projects from Katie and David coming soon!

Saturday, March 9, 2013

sharing saturday

Here are some additional pictures of our house as requested by some of our friends.  Thanks for the love.


{gallery wall in hallway}


{back guest bedroom}


{front study/office}


{kitchen table and bar area}


{living room}


{living room}