Saturday, February 15, 2014

Sunday sharing!

This weekend is beautiful in Austin and that means outdoor projects. 

We've been very excited to start a deck project out back and as always with the Walkers, well David, that means a DIY project. Why hire someone to do the work when you've got all the tools to do it yourself?

Currently our back patio consists of a  concrete pad immediately adjacent to the house but with very little sprawl to allow for a dining table or just space to be. And also we have a lot of trees and the grass immediately next to the concrete just doesn't grow. So there is typically a lot of mud. 


This is the before. 

David is in the beginning stages of pouring the footings. Hence the forms. And concrete is being poured today.  The footings will be the structure that will make the deck nice and sturdy. 


Work in progress. 


Bowie as spectator. 


Bowie burying his chewy under a footing. He's a regular little mobster. 

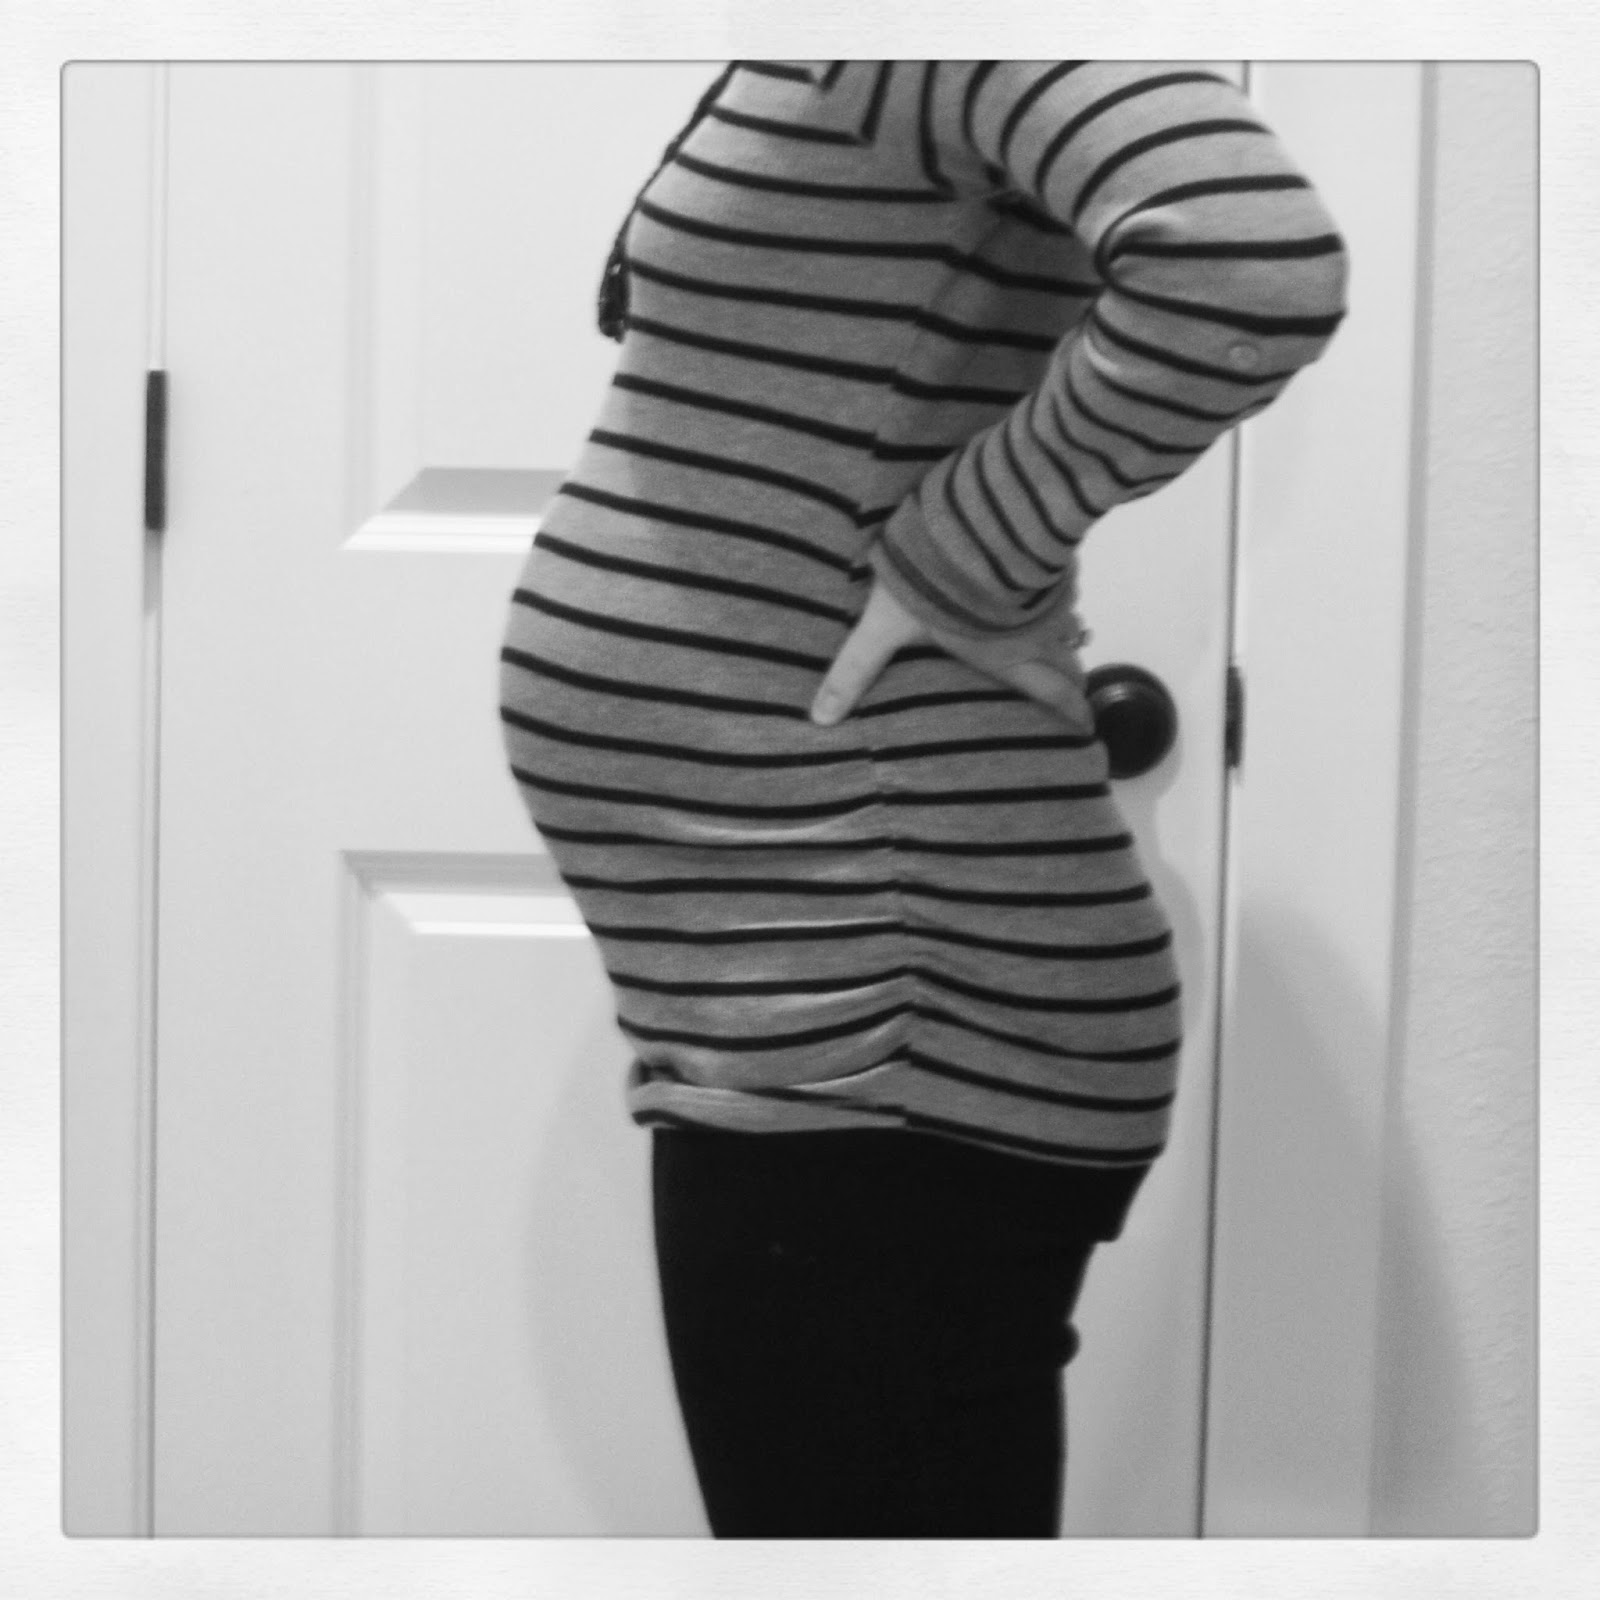
And here's a belly bump pic for the week. 33 weeks. 7 more to go. 


Happy weekend projects to you all!

Sunday, February 9, 2014

three funny pregnant moments, just today

These all happened today, and I had to share.  Enjoy.

1.  I went to Lowes instead of Home Depot JUST because the restrooms at Lowes are closer to the entrance.

2.  The shoe department employee at Nordstrom had to buckle the strap on the sandals I was trying on.

3.  I made a separate trip to the gas station after the grocery store to buy beer for David, because there are less people to judge me.  But I really don't care.        But I do.

Think of what happens weekly in my life.

Happy Sunday!
xo


Saturday, February 1, 2014

Kitchen Office & Nail Head Tack Board How-To

When we re-arranged our guest bedrooms to make room for baby Ellery, we lost our office.  Granted, we could have crammed a desk into the guest bedroom, but I'm not a fan of cramming.  And I like having a dedicated guest bedroom.

So, one night David and I were brainstorming as we often do, and he offered up putting a desk, a furniture piece, in our kitchen where our bar used to be.  Well then that brought up the discussion of where our bar would go, obviously.  But after some thinking and re-situating, we found the solution.

Move the bar to another area in our living room.  We have the perfect place.  And instead of a furniture piece to be our desk, make a cabinet style kitchen desk.  David put the plan into action, finding a great cabinet maker to make the cabinets, and then had them painted, and we installed ourselves.

This was the before.


And this is the after!


The paint is the same as what is at the fireplace wall paneling.  (The wood cabinet manufacturer from our kitchen went out of business, so that wasn't an option.)

The worksurface is from Ikea, butcher block, cut down and sanded.  We cut the worksurface down to only about 20" instead of 24" or even 30".  We just don't have the depth there because our kitchen table is right behind this chair.  But overall, this depth works great and is all we need.

Our personal file folders are in the bottom drawers and we can stash SO MUCH STUFF in the cabinets and drawers.

The cubby holes are great for bills, sorting tax stuff, and just odds and ends papers that we would like handy.

The tack surface was a definite must.  1} Because we had to move the light switch to accommodate the upper cabinets, and in David's doing so we had some patches we didn't want to have to spend the time to make look perfect.  2}  It just finishes it all off  3}  Its super handy and organizes the things that we want to be able to reference all the time.

The undercabinet light was a surprise add by David and it looks very "hot" in this picture, but gives a nice warm glow to that area.

Here's how I made the NAIL HEAD TACK SURFACE

{MATERIALS]

- Homosote type material from Lowes (cut to your specific size)
  (Its really an insulation type material, black in color, and comes in 4' x 8' sheets and is located in the lumber area, specifically insulation aisle.  Costs about $10 per sheet, and if you are super nice to one of the employees, they will cut it down to size for you!)

- staple gun

- thin felt lining fabric (to give a little padding and hide the black color of the material behind your fabric)

- your preferred fabric

- nail heads (all kinds of finishes and sizes, and can be purchased from JoAnns or fabric stores)

- hammer

- ruler/pencil

{HOW TO}

1.  With the cut to size insulation material ready, we covered it with the felt first, then the fabric, making sure that we were pulling all sides even, etc.  David helped with this.  Much faster and probably more effective if you have 2 people participate in this step.

2.  Then, I used a ruler to make a light pencil line, the thickness of the ruler, from the edge.  (Using the ruler as a straight edge guide was much easier than marking off exactly 1" or 2" from the edge.)

3.  Then from each edge I started marking off 1/2" dots with a pen.  I had to test out this spacing with my 3/8" nail heads first.


It looks like a lot of nailheads, and it was, but once you get the rhythm, it goes fast.  Any angle or slight misplacement off that 1/2" mark will make a bigger difference to your eye than you'd imagine, so attention to detail is key.  But the fabric we used (linen) was very forgiving.  And sometimes you had to just guide the nailhead into "straight" with your other hand as you hammered.  But like I said, after a while, you get the hang of it.


So that's it!  Our newest project to make our home ever more efficient and refined.

Soon to be posted to the blog, professional photos of our house.  Yes!  We have some new adventures under our wings as of the beginning of the year, and we needed some professional photos of some of our work.  More to come on that.

Have a great weekend and a great Superbowl Sunday!

Monday, January 27, 2014

in the 30's

I'm in week 31 :) and that's about the temperature outside right now as well :(

Speaking of the cold, I'd like to touch on a little timeline topic.  A lot of people have commented on how lucky I am that I'm pregnant in the winter.  However, I don't necessarily agree.  Obviously I really don't care when I'm pregnant, just that I'm lucky and blessed enough to be pregnant.  But if you know me, you know that I am a very cold natured person.  So, this whole thing about it being miserable to be pregnant in the summer... I'm pretty sure I could have handled it.  The other thing about having a large belly in the thick of the winter, is putting on all the gear with that belly.  Especially the bending over for jeans, socks, and boots and driving with a jacket on and feeling like the Michelin Man.  If I didn't have a bench in our room, I'd be on the floor and it would take me twice as long to get ready. 

{The Belly}
Lets take a look at where we've been over the past couple of weeks. 

This is 28 weeks.  {sweet baby Bowie wanted to join in the picture}


And this is today at 30 weeks.


{Facts thus far on the pregnancy}

- My right hip might need to be replaced, as I am currently walking like my grandmother who has two artificial hips.  However, the great Dr. Ron my chiropractor is working it out with me as well as my sweet trainer Karyna.

- The waddle is cause for smiles at the office, especially when I'm trying to get to the ladies room in a hurry.

- I passed my gestational diabetes test, hooray!  But found out I'm anemic, boo.  So that means more iron.  Not so fun on the digestive tract.

- We had another sonogram at 28 weeks, and will have another at 31 weeks.  I have a marginal cord insertion... cord is at the edge of placenta and not the center.  Apparently it can cause growth restriction for baby, but at the 28 week sonogram the tech said she was measuring 3 whopping pounds.  According to my app, that is at or more than what she should be, so I'm not too worried and neither is the Dr.

- My belly is growing a lot, and sleeping is getting super uncomfortable.  And I get up to pee about 7 times each night.  It doesn't really bother me though, I think I'm usually 3/4 still asleep.

- My mom does something or buys something for Ellery about once a week.  Obviously she is super mom, and will graduate (eh, probably already has) to super grandma.

- Ellery is moving so much and we FINALLY have alien baby tummy movements!  Its so fun to watch, especially when I lay on my side. 


{Nursery Progress}

So, you know all that inspiration board crap I did in the beginning?  Well, that was fun and all.  And then I switched it up for a premade set from New Arrivals, and then at the absolute LAST minute, I cancelled that order.  I just wasn't feeling it.  I wanted something soft, yet with a touch of whimsy and bold pattern. 

My mom helped me to step back and think about the process.  And then I approached it like I do my commercial design projects and thought about what I wanted my inspiration to be.  I looked back on my Pinterest boards, and found that my inspiration really needed to be this print, by Rifle Paper Company.  I love it!  It is pattern in itself, and enough pattern for the room.  I didn't want pattern on the bedding, but in other subtle areas.


I thought about the colors in it and what I wanted to pair with it.  Mind you I already had the crib, glider and dresser... But I think subconsciously I knew I wanted this type of look at the furniture was the backdrop for all this.  And, I was OBSESSED with pairing a vintage print like this with a black and white stripe.


After realizing what my inspiration was, I created this new inspiration board.  Three prints in oversized square frames over the crib with an accent wall of reclaimed pallet wood, coral jade and peach in the bedding, gold frames and accessories with a black and white stripe rug and teeny black and white stripe accents on the bedding.  


The next day I went and saw my sweet friend Kathryn who owns Picket Fences and we talked it out and set up the plan for the bedding, drapes and accent pillow.  Its all ordered, through PF, and I feel great about it!

I don't have a good photo at the moment of the progress on the room, but I love the paint color (jade/mint) so far, and our fun black and white stripe bold rug from Ikea is just the perfect bold contrast to the soft peaches in the bedding.  The coral comes in just a tad with some bows and accent pieces.


That is all for now, toodles, and only 10 more weeks to go!

Thursday, January 2, 2014

holy belly

Happy belated holidays.  To be honest I'm glad the new year has started and we can look forward to all kinds of fun things in 2014!  Obviously one being to meet our little lady.  The other... I need it to be warmer.

Due to the technical difficulties with the last computer, I've been a little slow on the posts because I've basically had to re-install EVERYTHING onto a NEW computer.  I totaled my other one with just the smallest bit of water spilled on it.  But, thank god for the Best Buy protection plan.  Don't ever not do it!  Its a life saver.  New computer for free.  (Still had to pay another chunk of change for another protection plan for the new computer though.)  Geek talk over.

Sad thing is that I lost all my creative graphic bump info, and some of the bump pics and a lot of other stuff that did not get backed up.  But I'm not going to get upset about it.  There are much more important things in life.

Onto fun things going on.  The baby bump.  The last picture I took was at week 19.  


And its been 7 weeks since I took another baby bump pic.  Obviously there has been a lot going on.   But just wait until you see this crazy transformation...

Week 26


Needless to say, baby girl, and me... have been growing.  Funny thing is, this is just days after food poisoning too.  I promise I'm a small person, and I haven't gained THAT much weight... but it will be very interesting to see how big this baby is going to be at birth.

We have a bunch of furniture in the nursery now!  Crib, dresser, rocker/glider, and moses basket & stand.  I'm waiting for the bedding to come in.  After a lot of thinking and pondering, I just didn't want to stress over trying to cultivate my own bedding ensemble when in reality, in about a year, I'll probably want something different anyway.  So, I ordered a semi-custom set from New Arrivals, Inc.


I've asked my sweet aunt to make curtains out of the coral orange and grey dot.. and then we will just go from there.  For now, I'm not too worried about getting everything done in too much of a hurry.  But I know its going to come fast, so I should probably keep up the pace.

We have a name.  Its not a secret.  So I will share.  Ellery Kate Walker.  And we will call her all kinds of nicknames like Ellie and Ellie Kate etc.

She is moving so much, but not alien baby yet, and I can't wait to see that!

Heartburn is ramping up.  Its awesome.  Whole bottle of tums at my desk at work.  

Our puppy Bowie is now 8 months old and still a little terror, but I can see an improvement in his demeanor.  He doesn't nip anymore, and we are working on all kinds of other obedience with him.  He is the sweetest thing when he's not busy trying to play keep away and is tired from a day of chewing on socks and rawhide.  We love him!  He still has some learning and calming down to do before baby girl gets here, and because of this he still goes to School Days at Dog School Austin with Rachel Daughn (dog whisperer of Austin).  We love her!

David and I have been busy on a recent house project which I will post later this week.  It involves a built in desk in the kitchen.  It looks amazing, and David continues to impress me with his skills.  Its always awesome to see how we completely compliment each other.

Until next time!

Saturday, December 7, 2013

the walkers, lately

Lots of big things have been going on in the Walker household of late.  Here is a little snippet of the past couple of weeks here at the end of 2013.


We found out our baby is a little GIRL!  Here is the "money shot" from the anatomy scan we had back in mid November.  She's getting big!  And is wonderfully healthy and perfect.  We are very blessed.

As some of my friends know, I'm kind of crafty.  So, telling our family was a big deal to me and I wanted to make it special.  So, we set up a night for all of us to meet at dinner at one of our favorite restaurants, Matt's El Rancho.  I figured it was loud and a big place and 14 people wouldn't be a hassle, etc.  Plus, I needed my queso fix for the week.

Our way of telling our friends was through "cascarones".  (confetti eggs)  I thought it was appropriate with the restaurant theme, and I gave David 2 options and he chose this one. 

So, I carefully cracked open and cleaned 12 eggs ahead of time, got the packaging purchased and everything ready until the night we found out... and filled them with the appropriate color confetti before the next evening's dinner festivities.


Our family's surprise announcement!


That is the dinkiest piece of confetti.  It says "Its a girl". 


The next day at work, the interior design studio girls decorated my desk. 


And then we  David has been hard at work last weekend on replacing our side fence.  The previous fence was chain link, yuck.  And now it matches the other side/gate and is tremendously updated.  More yard projects are under way.  Even today, in 30 degree weather, David and his dad are hauling off old firewood piles and railroad ties that were left in our backyard from before we bought the house.  "Clean slate" David says.  Maybe in the spring we can work on building a deck in the backyard.  We love being outside, and our backyard is beautiful, but there just isn't any good functional living space.


David and I took our Christmas picture last weekend.  Baby bump and all. 

[Side note:  I spilled water on my laptop and it is in the shop for another week or so.  It is very sad to me because I cannot do any editing of photos or graphics stuff like I always do.  Its like I lost my phone or my hairdryer.  Its apart of my every day. End, sob story.]


And the baby bump.  This was at end of week 22.  Again, I must not have any stomach muscles to hold anything in, because the bump is bigger than most I know around my same time frame.


At work, there are "Stork Parking" spaces.  I finally pulled the trigger and asked if I could start parking there.  My hips are kind of killing me and without an elevator, our garage can get very cumbersome to walk in and out of 2-3 times a day. 


Our next fun project we have been working on is to have a kitchen built-in desk/office made.  Since we had to dedicate one of our guest bedrooms to the baby's room, the other serves as an actual bedroom (which I use a lot due to the snoring factor of the significant other) and there is no room for a desk/office component. 


This is where our "office" currently sits, and where we will have the actual cabinets installed.  They will match our kitchen cabinets, but be painted.  Big surprise, the color gray.  The desktop won't be too deep, only 20" and we have included some mail slots up top with the upper cabinets. 

Inspirational images include the following: 


I'm super excited to clean up the area.  Enjoy the clutter you see in the before picture.  I AM human, and my life is not perfect.  No one's should be.

Okay everyone, enjoy this weekend's cold snap.  I sure am, inside with the heat going, plotting away at my next project.  Undoubtedly one that will cost money and make David have to work ;)

Oh!  And, "follow" the blog, because soon I'm not going to use Facebook as my "blast".  Follow and get an update via email of new posts!

Tuesday, November 26, 2013

custom bathroom stencil - so fresh

I have been wanting to get an electronic cutter/blade printer for a long time now.  Its so nerdy of me, but as a crafty person, who likes graphics... what can I say? 

I did some research on both the Cricut system and the Silhouette system.  Both have their positives and negatives.  But for me, having the Adobe programs that I use that help me create fun graphics and fonts was the reason I chose the one I did.  With the Cricut, you cannot print your own creations.  You have to buy packages of cut-outs, packages, not just one.  And you cannot import your own graphics.  With the Silhouette, you can.  So I chose that one.  (And you can buy 1 design at a time for about $1, not $10 for a package of 10 when you only need the 1 design.)  With the Silhouette, you have to pay $60 more for the "extended" version of the software that lets you import your own content.  But its worth it.  It takes a little bit of knowledge about "vector" files and how to work around that type of software, but I'm used to it, so the software came easy to me.   I know there are so many things that I can't even comprehend to create or know how to work, but its going to be fun.


On to the fun project.  I've always wanted to put something above our towel hooks in our hallway bathroom.  Something fun, graphic, a quote, etc.  This will be our kids bathroom, so the more fun... yet classic, the better.  So I created a stencil of a fun lyrics verse.  You'll know it when you see it.

I was able to create the text in Adobe Illustrator, then save it as a .svg file and import it into the Silhouette software.  Then I loaded the vinyl adhesive backed paper into the machine and pressed "cut".  (There is more to that, but Silhouette American has a great blog with lots of tutorials, so if you're interested, go there!  http://blog.silhouetteamerica.com/)

And here is the process to make it all happen.

The printer/cutter cuts the vinyl so that it doesn't go through the backing layer.  This image shows the vinyl after I peeled the "positive" off.  Because I was making a stencil, the part that created the negative was what I wanted. 

 
vinyl stencil
 
Then you have to apply the "transfer paper" to the front of the vinyl, which makes it easier to apply to the wall.  If you don't do this, there is the high potential for intricate designs like this to get distorted by your human hands when applying to the wall.  So place the sticky side of the transfer paper to the front of the vinyl.

 
Then, peel the backing off of the vinyl sheet.  Exposing the adhesive that will stick the stencil to the wall.  Then place the pieces as you need.  Its all a process of layers and essentially getting only the vinyl "sticker" onto the wall that becomes your stencil.


I found that I should have cut around the letters more, because the transfer paper is super sticky and peeling it off of the front of the vinyl was a little cumbersome.  You'll see that I peeled it off in smaller sections to help.

 
Vinyl stencil only, transfer paper removed, ready to paint.  I will say that its advisable to go back and rub all the edges of the graphic with a tongue depressor or your finger with a white hand towel.  The more the edges are pressed down to the wall, especially with a high texture wall, the better.

 
Paint.  I used a sponge stamper pouncer thing.  (I'm crafty, but I'm not going to spend the time to know the names of all the crap/tools.)

 
I forgot the first rule of stenciling!  Paint the original wall color first.  In this case, I should have gone and gotten a little bit of our existing wall color, and painted that over the whole design.  This seals the edges, and bleeds into any crevices so that the accent/colored paint won't.  But I was in too much of a hurry and I'm not the most patient person in the world.

 
Final product.  I may do something more to it.  Possibly add a painted frame around it or have David create a wooden pallet wood frame, but for now its fun.